Tuesday, February 19, 2013

No more paper plates!


Lets face it, they sure are convenient. With 4 kids, homework, dance, band, myself now employed & working, my husband working long hours, dishes, laundry, shopping, cleaning, life - using paper plates is just one of those things that makes life simpler.

I vowed long ago to give up paper plates. And though I don't use them near as often as I did, I'm still buying them. Last weekend, my husband got a new truck. He works his butt off for our family & he deserves that new truck. But with that new truck, came another vehicle payment (his previous truck had been paid off for years). I mentioned in the post below, another vehicle payment is not in our budget. It's not there. So I have to make it there.

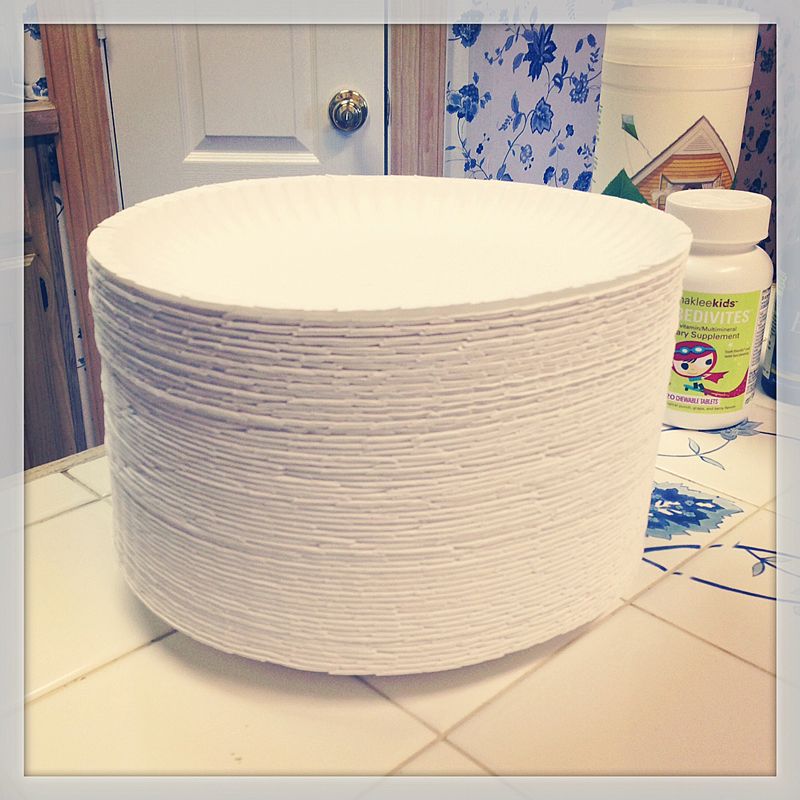
I love a good challenge & I'm loving saving money anywhere I can. When I look back, seeing the amount of money we (especially, me!) have blown over the years literally makes me sick. I'm so ashamed. How stupid! I can't change the past, but I sure can change the present & the future. Foregoing paper plates might be just a tiny improvement, but every tiny improvement adds up. Granted, these paper plates only cost about $4 or so. But that $4 I'd rather have in my pocket!! Let me encourage you, ditch the paper plates. Put that $4 in your pocket, too!

You know what I always say - any change is better than no change at all!

As I come across areas where I'll be saving our family money, I'll be blogging those changes, so be sure to follow along. I'm just getting started & I have a long way to go. Project: Money Smart is underway!

Dani Johnson shared three money saving tips, so I'll post them for you. Maybe these tips will help your family, as well. No, Dani Johnson doesn't know I blog about her & I'm not compensated in any way. She's a smart lady & a huge inspiration. So I share, in hopes of learning from her wisdom. I also posted this information on my Facebook page the other day.

From Dani:

"I have 3 very simple tips I want to share with you today that are really going to show you some places where you may be losing money:

1. Avoid catalogs! Get rid of department store catalogs and get off of email lists today. CANCEL your catalogs from Victoria's Secret, Apple, electronic stores, nutrition stores, and the rest of the traps where you shop. Think about it... The only reason they have your address or your email address is to sell you something. These catalogs and emails are nothing but sales letters.

2. Sell your stuff! Have a garage sale. You don't need tons of stuff! It just takes time to manage, dust, and keep clean and organized. So sell it! Use the money to pay off debt or to invest. I once had a garage sale, and we made $2,600 in one weekend in my tiny little town. I also sold a bunch of my clothes and made $2,000. That's $4,600 from STUFF! Do I miss any of it? No way! Heck, I don't even remember what I sold! Neither will you...

3. Eat what is in your pantry! Do not go to the grocery store until all the food in your house is gone. For most people that is at least 30 days. (I've even had clients who said they didn't go to the grocery store for 6 months!) See, we have been trained to think that our refrigerators and pantries are supposed to be well-stocked. But, my friend, you have been duped by advertising. If you do not go to the grocery store for the next 30 days and eat everything in your pantry, that is CASH in your kitchen! Take the money you would have spent on food and attack your debt with it."

I have to giggle at the "Sell your stuff" because I have been saying for months now that we should all get rid of some of our stuff, because it's just more to dust! Ha! But that's the truth, isn't it? :)

Here's another post I did not long ago regarding little things I do to save our family money. Click here.

How are you saving your family money?

Follow me on Facebook for more fun stuff! Click here!

Friday, February 15, 2013

Where can you cut back?

It's no secret I LOVE Dani Johnson. Don't know her story? Click here!

Currently, it's safe to say I'm totally obsessed with Dani Johnson. She is such an amazing inspiration!! She is a 'no holds barred', 'cut to the chase' kind of lady. She doesn't fool around. And it has gotten her - everywhere!!

Yesterday I watched a video she did where she goes shopping. Love it, love it! So I thought I would share:

It's time to batten down the hatches around here at the Adoring the Simple home. My husband has no choice but to sell his 2004 Diesel.  He needs a newer, more reliable vehicle.  Truth is, we can't afford another vehicle payment. The funds are just not there. So I need to make it happen. I have to find the money. And I'm determined! I am going to be successful!  I LOVE money-saving tips. Any & all. Think about it. Like myself, you, too, would be surprised where you can find extra money, if we'd all just pay attention & be more conscious of our spending. I'm on it! I'm going to make this work. I don't have a choice! Care to join me? Because I'm starting NOW! *I learned of Dani Johnson through my Shaklee team. Dani Johnson is one of the awesome resources we get our Shaklee training from. For FREE. Dani has been a huge blessing for me, personally & professionally. I still have so much to learn from her & I am so excited & so ready to learn all I can! And for free? Yes, please! I will take that! Soon, I will be adding a page explaining how I work from home, making money from blogging. You can do it, too, if you desire to help others get healthy, desire financial gain & dream of being debt free. Your dream can become a reality! One of my teammates just paid off $55K in debt & put down a down payment on their dream house! She is just one of many happy, successful stories. Oh, & she makes 99% of her income from blogging & networking. She never leaves her home! Anyway, if any of that interests you, watch for my new link, coming soon. If it interests you NOW, shoot me an email right now! adoringthesimple@gmail.com You can hop on my team now & you can start making money NOW! I will teach you how to do what I do! What we all do! You will join our private Facebook page that is so incredible. Incredible team, incredible/invaluable teaching & incredible relationships! Find yourself again. Be in control. Find your worth, work your butt off & reap your dreams! Happy Friday! Follow me on Facebook! Click here!!

Thursday, February 14, 2013

Moments.


Happy Birthday to my husband & Happy Anniversary, 17 years!, to us!

I have been so busy this week - extensive dr.'s appointment, hubby's birthday today, anniversary today, birthday & valentines shopping, Valentine's Day, Valentine school party, party at dance, valentines, goodies for all parties - whew! I'm pooped!

Hope you had a fantastic Valentine's Day! I'm kind of glad it's over! :)

Sunday, February 10, 2013

Clean your sterling silver jewelry naturally, without toxic chemicals!

First, let me show you what I have always used to clean my silver & gold jewelry. For years & years & years & years:


I opened up the silver cleaner the other day & gagged. The odor is horribly intense & there is a warning on the jar itself stating the solution is dangerous. I was pretty much over it. I sat down at the computer & did some googling on how to clean sterling silver naturally. I'm not linking back to any one site because I went to numerous sites & basically, they all say the same thing. So I pulled out the ingredients & got busy.

A friend warned me that she tried this experiment with her silver jewelry & it ruined her pieces. The difference is, her recipe (she got off Pinterest) called for vinegar. Not one of the recipes I found called for vinegar, so that may have been her problem (some of them did call for salt, but I didn't use that, either). None the less, I chose 3 very old, very tarnished pieces to start with, just in case they, too, ruined. The earrings I don't think I have ever worn. My ears are too fat (now you know by now I have a 'fat ear' problem, which is why I have so many piercings), so they've just been thrown in my jewelry collection for 15+ years. The ring I've worn a few times, but not many. No biggie if any of these got ruined.


Here are the supplies you need:

Baking Soda
Foil
Hot, hot water
Bowl or pot

The first procedure I tried called for a bowl, with "wadded up" foil in it, & then 1 or 2 tblsp. baking soda.


Place jewelry in bowl & then add very hot water. Within minutes, bubbles begin to form on the tarnished pieces. The aluminum with the baking soda acts as a magnet to remove/reverse tarnish.


Was pretty cool, actually!

As you can see, my pieces were really tarnished & the procedure was taking quite some time, so I went back & read some of the other sites. Most of them mentioned placing the jewelry directly on the foil (vs. on the baking soda), so I changed procedures.

I got a pot, put enough water in it to cover my jewelry & let it boil. I then removed it from the heat. I put a piece of foil in it & tossed my pieces in. At this point, I threw in 2 more earrings & a ring, just for fun.


Then, I sprinkled on baking soda. I didn't really measure, I just kept sprinkling until I thought there was an adequate amount.


You can see how good they are looking - by this time (maybe 20 minutes?), the tarnish was really coming off!


Because my pieces were in such bad shape, I just let them sit in the mixture. I even put my hand in a few times & swished them around & then let them sit longer. I didn't time how long it took, as I was playing games with my kids while the pieces sat, but I'm guessing about 40 minutes total. Obviously, the longer they sat, the more untarnished they became. When I thought they were done, I pulled them out!


They look pretty darn good! I then washed them off with soap & water & dried them with a towel.


I was having a hard time getting a good, lighted photo, that really showed how revived & new they look! This is as good as I could get & I think they look fantastic!! They're so pretty again!


Out with my toxic jewelry cleaners! I'll use this simple, inexpensive procedure from now on. No more icky, harmful chemicals! I don't really think it matters which procedure you use, but I think the boiling water might work a tad faster. And, placing the pieces on the foil & then adding baking soda. I think it's more the ingredients that make it successful versus the technique. And of course, depending on the condition of your pieces, the less tarnished = the less time it will take.

Happy silvering!

Be sure to follow me on Facebook for more fun stuff! Click here!!

Linking up with:  Not Just A Housewife, Home Stories A to Z, Under the Table and Dreaming, Alderberry Hill, Uncommon Designs, HuckleberryLove, Chic on a Shoestring Decorating, House of Hepworths, The Shabby Nest, Between Naps on the Porch, A Bowl Full of Lemons, House of Rose, Mary Organizes

Wednesday, February 6, 2013

Good-bye, my love.


I am/was so addicted to it, I used to dream of having an iv drip just full of the stuff. My addiction is/was pretty serious.

Yesterday, Tuesday, February 5, '13, I bid farewell to my beloved, quenching sidekick, Diet Coke. I've tried to do this in the past, but I have been unsuccessful. This time? I got this.

Every single morning, short of 2 or 3 days a year, I got one of these:


(Actually, that drink does not contain Diet Coke - I took this photo yesterday a.m. & it has lemon water in it.)

My routine included dropping my kids off at school & driving to Sonic. Every day. But as you know, Diet Coke is unhealthy, all the way around. Not a healthy ingredient in it. But most importantly, it contains the highly unhealthy artificial chemical, Aspartame. Bad stuff. Not only were my daily Diet Cokes (sometimes in the past? Three a day!!) hindering any weight loss success, the Aspartame was doing it's own damage. Aspartame has an unbelievable amount of side effects. It was time.

Today is day 2 of drinking nothing but water for me. I'm not a fan of water. But as of today, I'm fine with it. And surprisingly enough, & this was the case yesterday, too, I'm totally fine without my delish coke. I can still taste it & how much I love it, but I don't need to run out & get one. And I won't.

It's so interesting because being this is only day 2, I've already lost water weight! I kid you not. I can totally see it in my ankles! I can't wait to get up tomorrow & see how much more has disappeared. Giving up Diet Cokes will probably be one of the best decisions I will ever make. I'm only going to drink water but on occasion, when I do crave something different, it'll be tea for me, sweetened with Stevia. Oh how I love sweet tea with Stevia. But not on a daily basis - daily, it'll be just good ol' fashioned water. And I certainly don't want to forget to mention how full I am - my appetite has substantially decreased. I know without a doubt it's because I'm full of water! I have a horrible habit of not eating enough & this might just help me with that, too. Now when I'm hungry, at least I grab something little & then I'm full again! Yes, please!

So with my eating habits improved & now no more unhealthy Diet Coke, I'm anxious to see how quickly I finally lose some weight. I'm excited!

My intentions, regarding many things, are always so good. I blog them & tweet them & configure my plan & even though I may do them for a while, eventually, I fall off the wagon. I haven't always been successful changing things I need to change. Now is the time for those, as well. No, really. Now's the time!

I'm ditching a lot of my computer time & trading it for more time with my family & an earlier bed time. Ample, adequate sleep is just another area I have really struggled with & tried to improve (how many times have I blogged about it?), but for the most part, haven't mastered it. My new bedtime was implemented last night. It was so wonderful & I can totally manage with less computer time. Don't get to read my favorite blogs every single day? So what. Miss a day or so on Facebook? Big deal. Can't send a Tweet or post to Instagram every hour? Whoopie. It'll all still be there tomorrow, along with all my friends. And because I feel so much better, function better, am more productive & so less tired when I get ample sleep, I have no problem missing a few photos or posts until the next day. It's worth it!

Saturday, February 2, 2013

Introducing the Hanger Station!


No one guessed what this little jewel is! It's a Hanger Station! This cute thing adheres above any door frame & you place your hangers in the provided cups! Tada! Don't have anywhere to hang freshly ironed clothes? Now, you do!


I don't iron much anymore. That said, when I worked outside the home, & even when my children were younger - I ironed a lot! And I NEVER had anywhere convenient to hang my freshly pressed clothes! I kid you not, I would iron an article of clothing, place in on the hanger, & then place the hanger on the edge of the counter where it ALWAYS fell off or on a doorknob where it would wrinkle due to draping on the floor!! Grr!! I remember well, I would get so stinkin' angry!! All that work to have to repress & rehang. I desperately needed this product!!

So. Let me show you how it works.

First, decide what area/room/door frame you want to use (use many, if you want to!) Then, clean! (A towelette is included, but I forgot to use mine. Doh.) Door frames get mighty dirty & dusty up there! Be sure to clean the wall directly above the frame, too. The wall is what the Hanger Station adheres to. (I chose to use my laundry room door, which is a little bunged up. Please excuse the imperfections!)


Once the frame & wall are completely dry, set the Hanger Station on top of the door frame, remove the backing, & firmly press the Hanger Station against the wall until it is securely in place. Be sure you do not place the station on the corner/edge of the door frame! Scoot it more to the inside, allowing clothes to hang free & not against inside of the door frame/jamb. Play with it first, move it around before adhering, so you have it (or, them) in the perfect position(s)!


Then, utilize! In other words, hang away!


Look at that! No more fresh clothes falling to the floor or getting wrinkled by touching the floor! The clothes hang nice & loose & the hangers are secure in the little cups!

I found that using each little cup made the clothes a little too tight & cramped:


So, I just spread them out! Tada! Problem solved! This is where applying multiple stations will really come in handy!


Add as many Hanger Stations that the door frame will hold! Will it hold four? Use four!

I did discover one, minute 'issue' - just one! (This may not even apply to you!) The Hanger Station doesn't really accommodate children's hangers. The little hanger 'neck' just isn't long enough. It still works, it just swings the article of clothing sideways. Easy fix! Either put the article on a full size hanger for the time being or just space them out, using multiple stations!


For those of you with small laundry rooms or inadequate ironing areas, the Hanger Station is for you! It truly is a great help & I love it! And like I said, I wish it was available years ago when my ironing frustration ran a little...rampant.

(And don't tell, but I plan on finding several other uses for this little jewel. Inside & out!)

Want yours? Order here!

Happy hanging!!