Showing posts with label DIY.. Show all posts

Friday, August 30, 2013

Pretty in pink.

I love pink. I've always loved pink. Almost all shades of pink, but not mauve. Remember mauve?


Mauve was popular many years ago & I officially got mauve'd out. No mauve here. Just pretty pinks.

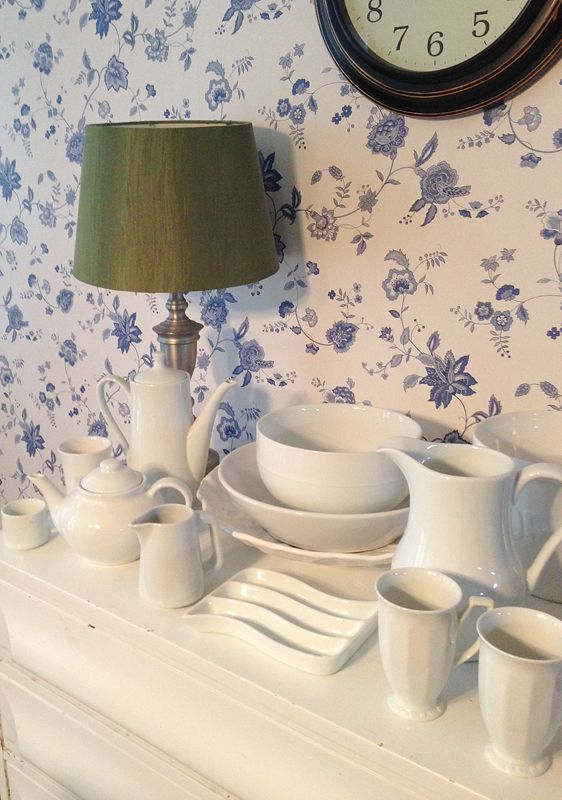
But first, I got this bright idea (pun intended) to paint this green lamp shade. I'm not fond of green. Not for my decorating, anyway. I have a forest green (& gold - wallpaper) 'formal' (hate that word) dining room. Seems every color I don't like to decorate with is in this house. And we bought it anyway! Here's my green lamp shade. Love the base, hate the shade.


I had some white paint, so I sprayed it. What a fiasco! This lamp shade is not the typical lamp shade fabric & I had an icky, gooey, freaky mess. I'm going to buy a new one, but for now, as kanked up as it is, I like it better than the green!

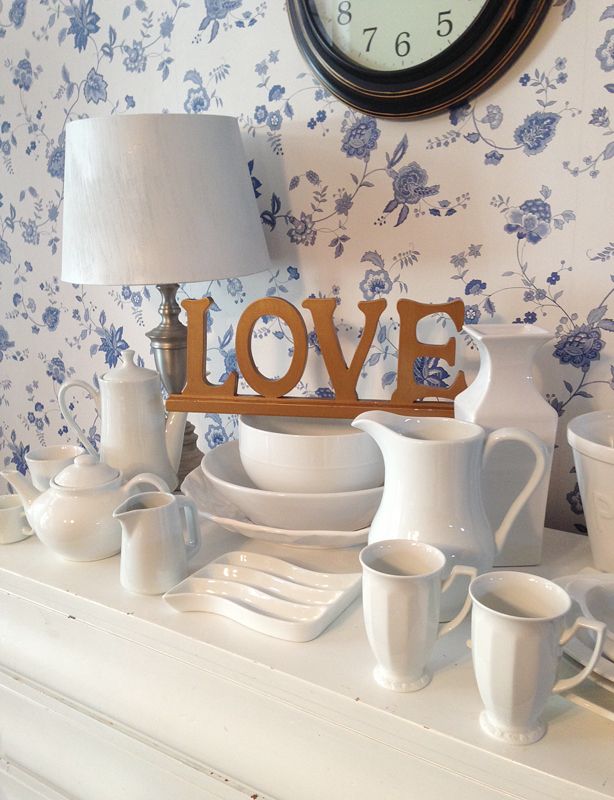
A long time ago, I picked up this gold LOVE sign. I don't even remember where I got it - Goodwill, I think. It's just been hanging around because I never knew what color I wanted it.


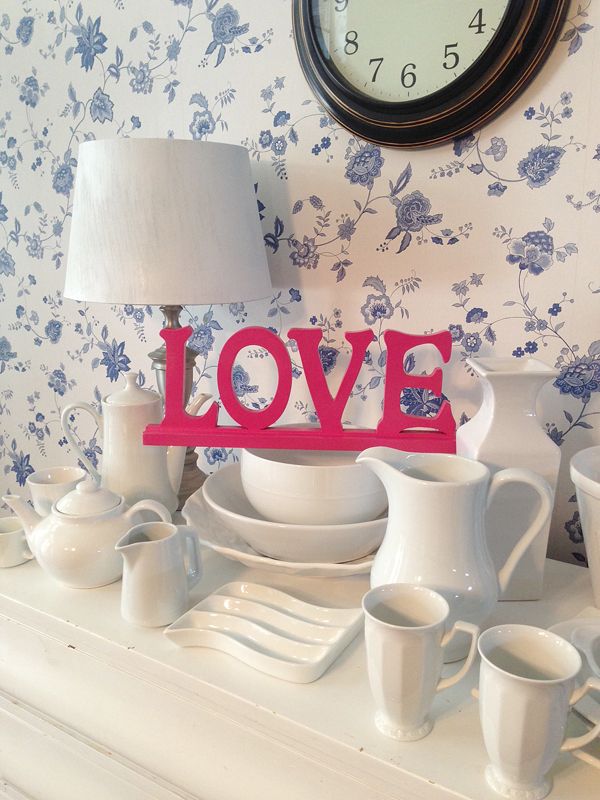
Until today. How cute would it be pink? So I painted it, too. I'm going to put it in my black, white, gray & pink living room.


Perfect!

Follow me on Facebook for more fun stuff! Click here!

Friday, August 23, 2013

Life is beautiful.

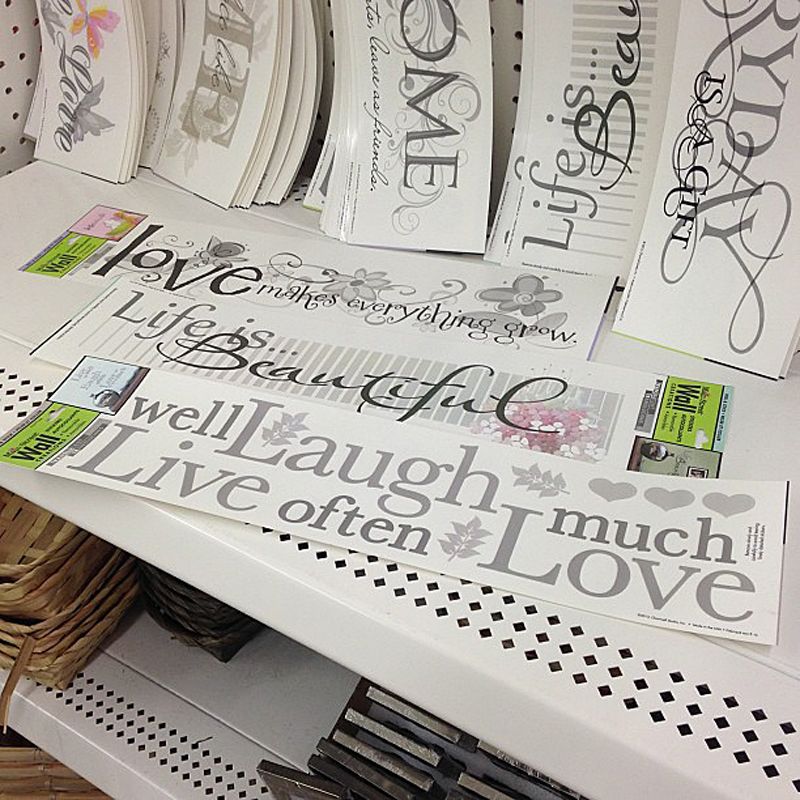
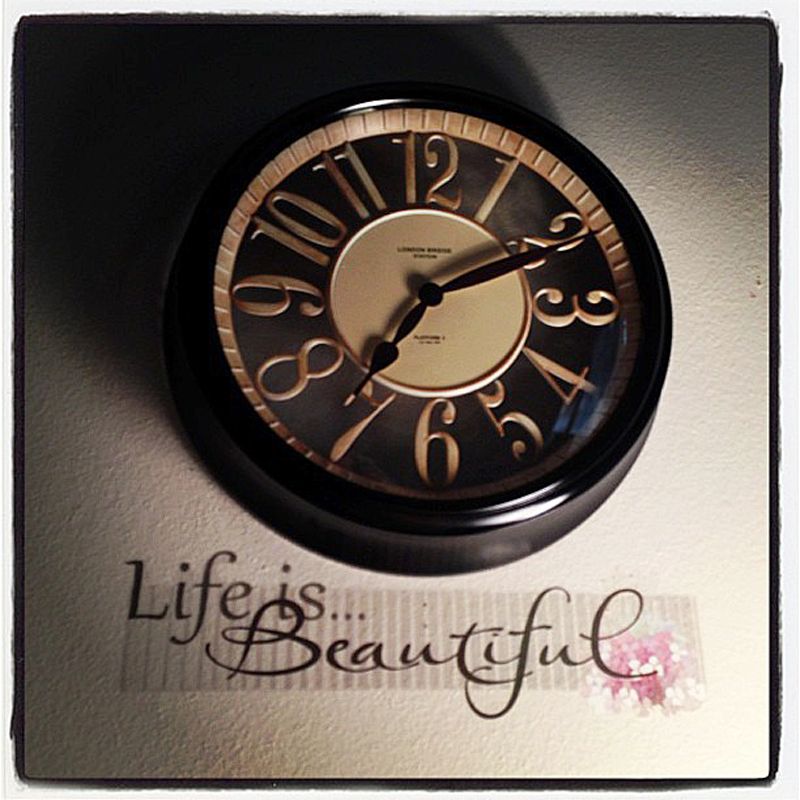
We've already determined (way too many times...ha) that I am redecorating our entire downstairs (& bathrooms) in the colors black, white & gray, with different pops of color in each room. All this is being done on a budget. Pretty much a non-existent budget. It's also been determined that I don't like much art on my walls. I am very, very picky & I don't do 'pictures'. I do photos of my kids, their art work & words. Words. Simple, lovely words. So imagine my delight when I recently spotted these decals while at the dollar store!


Oh yes, sweet little sayings for $1. One dollar! I only bought one to start with & I applied it tonight. Love, love, love!


I can't wait to go back & purchase gobs more. More for me, more for my kids' rooms. More for happiness.

Because I was searching the dollar store (Dollar Tree, to be exact) for a specific back-to-school item, I had to go to several different Dollar Trees. And I noticed something. The bigger the store, the bigger selection of wall decals they have! Yip!

So there you have it. Go get some! Liven up your walls! Express yourself & your life with words! On the cheap, to boot! Winning!!

And have you heard?

Life is beautiful!

Follow me on Facebook for more fun stuff! Click here!

Linking up: Chic on a Shoestring Decorating, Shabby Nest

Sunday, August 18, 2013

I MADE IT TO IKEA!!

That deserves all caps because I have waited a very long time to get there! Ours is about an hour away, so even though I've wanted to go, I just never got around to it. Instead, I lived vicariously (drooling) through everyone else's Ikea posts! Until, until, this weekend! My husband needed bunk beds for a photo shoot he has this week & we exhausted all Craigs List ads, all online garage sale ads & just had no luck. So, out of the blue & on a whim, we made our way to Ikea! Now that I'm incorportating black, white & gray into our entire home, I could not wait to see all the beauty!!

By the way, Ikea is, um, very crowded on a Saturday afternoon. So we made our way in & we made our way up & walked the complete opposite way of the provided arrows. I'm a rebel like that. :) I loved everything! And the prices were amazing! But where are the dishes? The linens? You know, the fun stuff? It wasn't there & I was very disappointed. Sadly, I even vowed not to return. Sigh.

Then, we had to go downstairs to pay for the bunk beds & a twin bed I bought my oldest son. We hopped on the elevator & exited out the back & not the front that we had come in. What? I am easily confused, I was new to the store & at this point, I was just wondering if I would ever see my home again. But wait. The elevator went down & when the doors opened - what to my wonderous eyes did I see????????
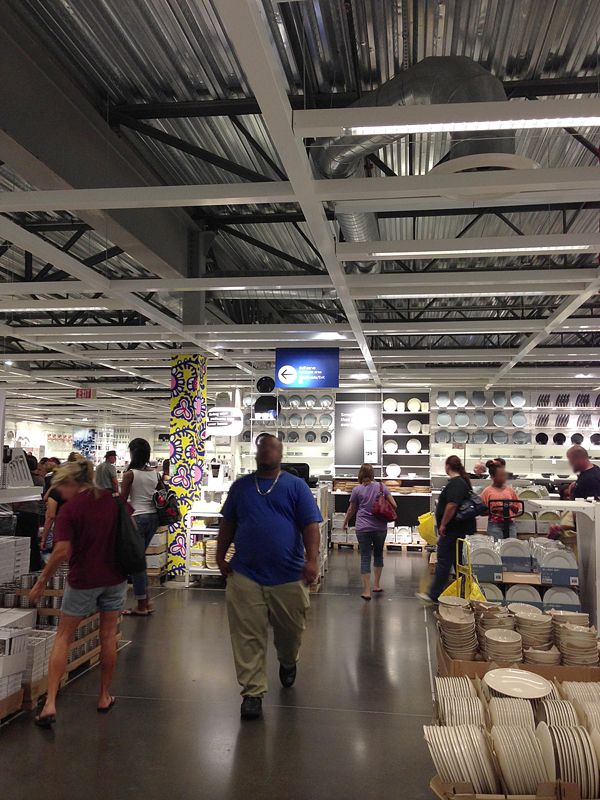


WAHOOOOOO!! Another level with all my heart's desires!! I think I may have done a few cartwheels, as my husband passed out because he thought we were through. Bwahahaha! Oh no no no we weren't through! I, was just beginning!!
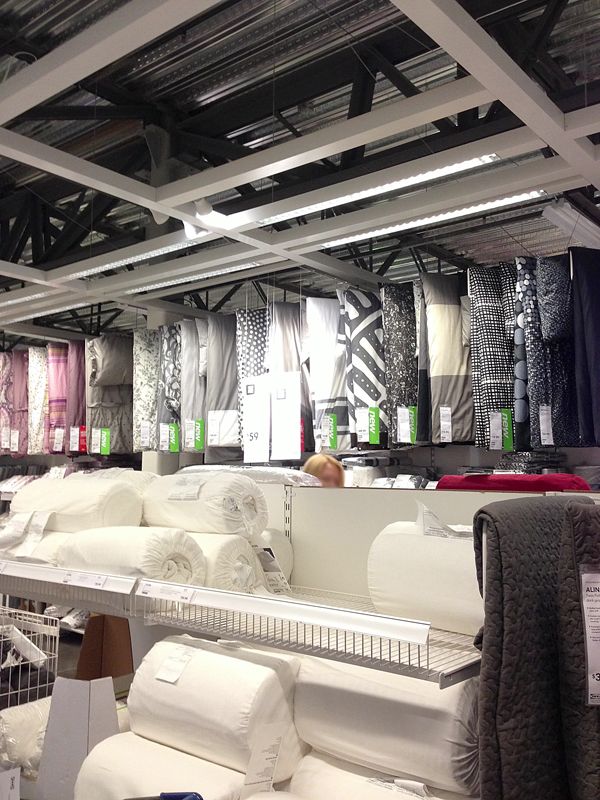


But alas, it had been a long day, the kids were tired, so I made a mental note to return & get "this & this & this & that & this & that & this & this & this..." & I picked up a few things along the way. I couldn't leave with nothing!
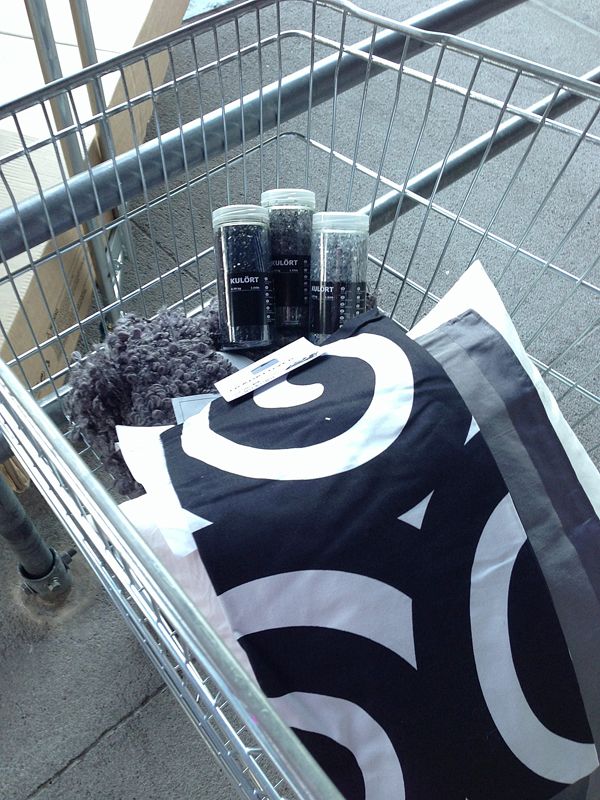


(No bags. I didn't really like that part. But, ok. Next time I'll buy a $.60 Ikea bag. :)

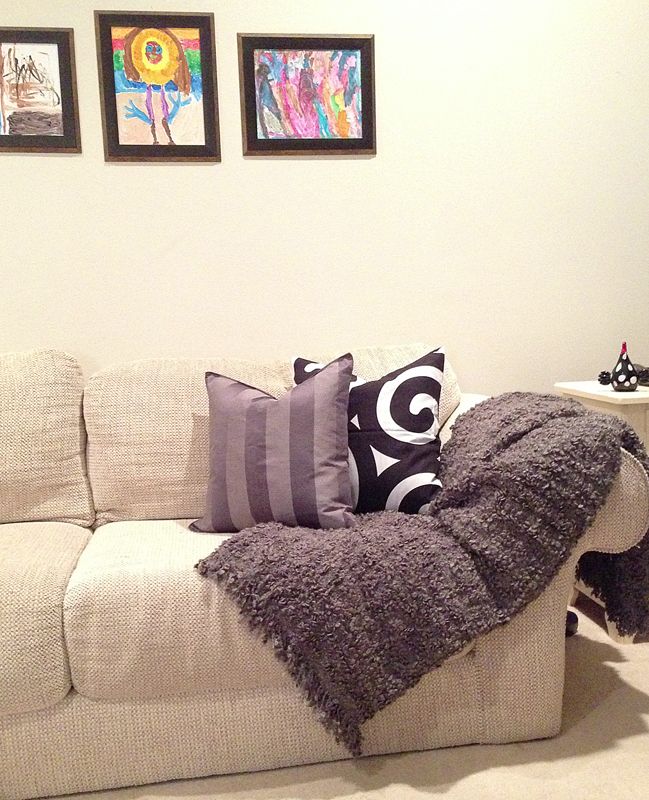
First time I have purchased a pillow insert, too. I really like the concept, though, of simply changing out pillow covers so I think I'll get quite a few more. I just happened to have another 20x20 pillow here at home that didn't sell at the garage sale, so I shoved that in another new cover. Winning!!


I haven't distributed the beautiful, broken, decorative glass yet (my OCD kicked in & I couldn't decide which color to buy, so I got all three. Black, gray & white! Gorgeous!).

I put my new, delish stuff in the front living room, which is really 'my' room, & this room is going to be black, gray, white & PINK. Heck yeah! Pink, baby! Why not? I love pink! And it goes swimmingly (ahem) with black, gray & white. And after all, it is my house! Rules schmules!! As I make more progress - & get all the school supplies you can't see delivered to their appropriate schools - I'll be showing the entire room.

This, is JUST, the beginning!!

Follow me on Facebook for more fun stuff! Click here!!

Thursday, August 15, 2013

Baby steps to black!

Transitioning our home from browns to blacks is pretty much happening at a snail's pace! With all 4 of my children starting/returning to school in a week or so (sniff sniff), I'm going to have a lot more time to work on projects. Which is good, because I have way too many! But I did get one more thing painted a few weeks ago.

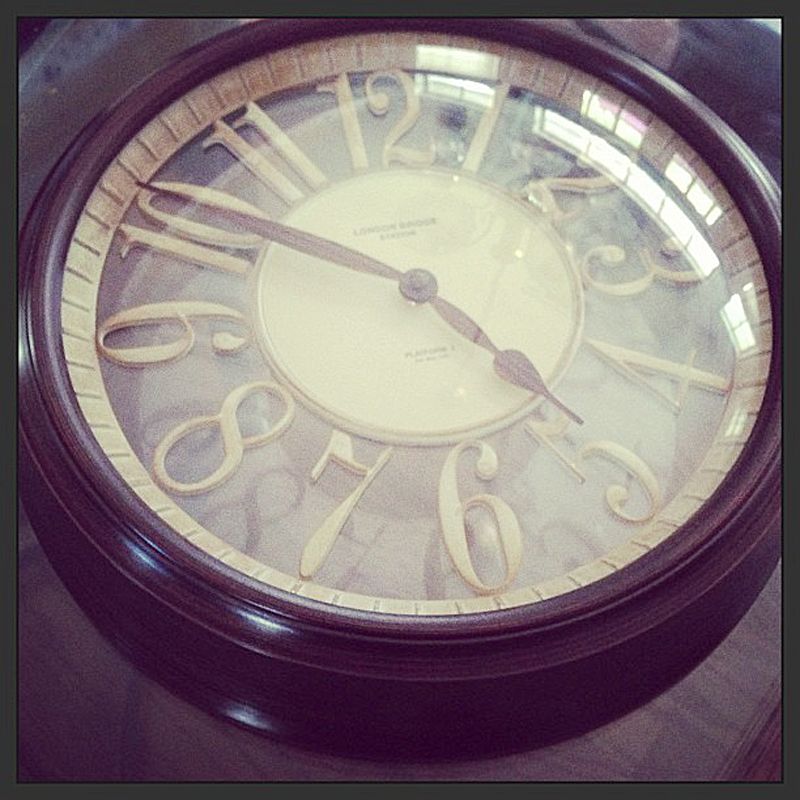
This clock sits above my desk (those walls will be a beautimous shade of gray some day soon, I hope), so I yanked this puppy down & gave a her a nice, glossy black finish.


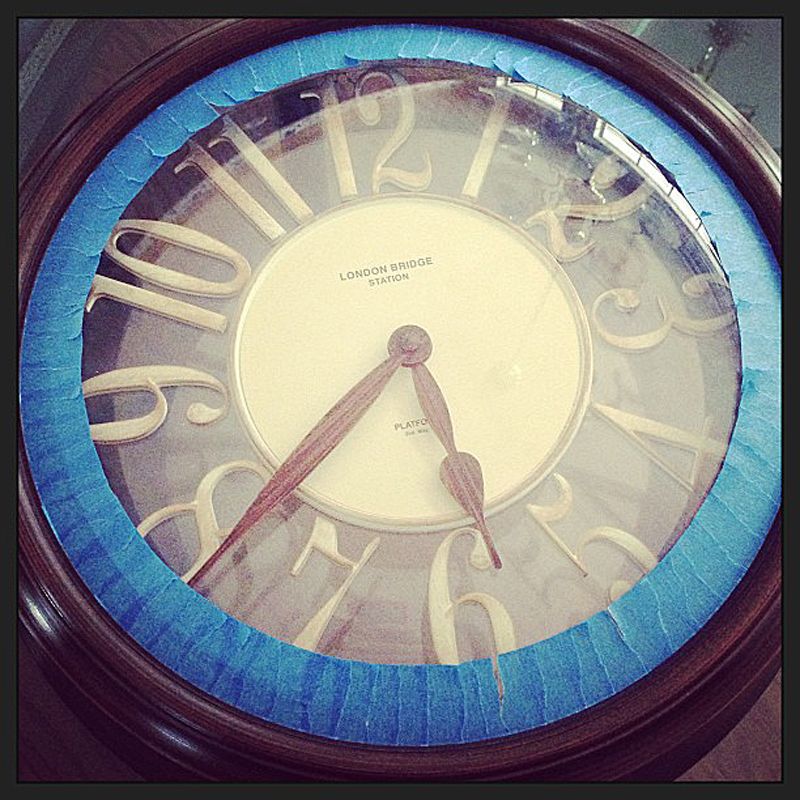
I didn't want to have to tape it off, but ultimately, to keep the paint nice & clean, I had no other choice. Was a bit monotonous, but worked great!


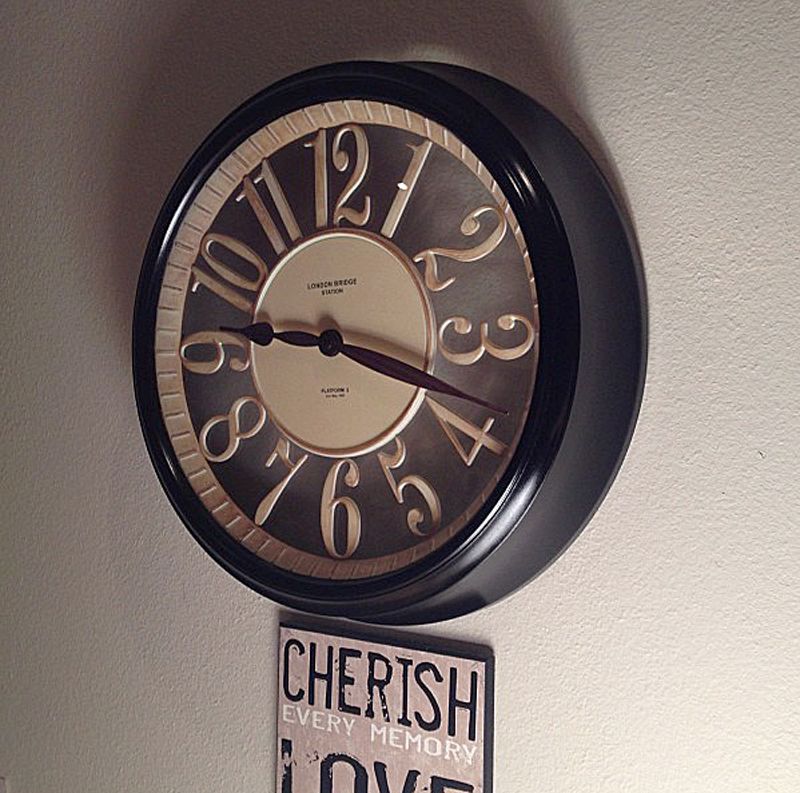
And here is the finished product! Love it! Love all this pretty, pretty black!


Two little paint projects down, 50 to go! I have yet to return to thrifting since I decided to change colors. Cannot wait to return to see what I can find in my new colors! Maybe I can squeeze some thrifting in tomorrow? That would be good! Heck, that would be great! Does thrifting excite you like it does me? I LOVE IT!

Follow me on Facebook for more fun stuff! Click here!

Wednesday, July 10, 2013

Goodwill lamp makeover!

Remember my 'new' lamp I bought last week? Well now it's really new! I just love the end results!

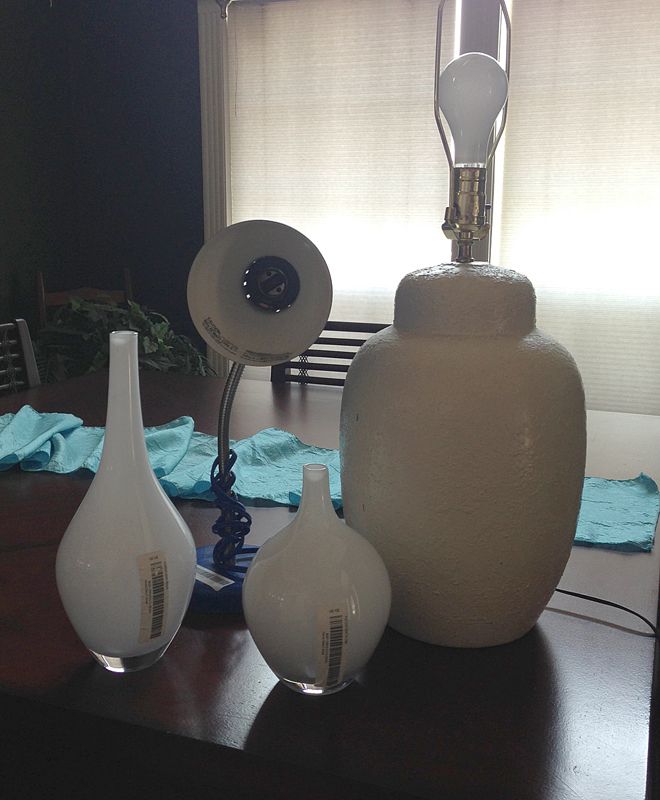
Here it is after thrifting, nice & boring:


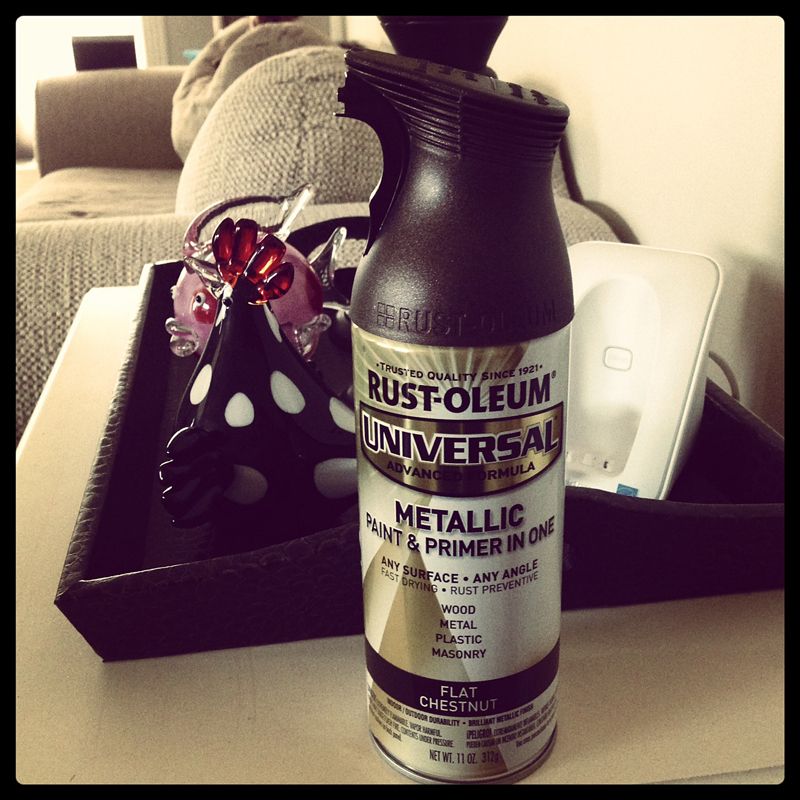
If you follow me on Facebook, I kinda mentioned last night that I'm contemplating decorating my house in Kardashian colors. Yes, I'm totally serious. It has been a thought I've had for over a year & it has been a discussion in our home numerous times. Anyway, I purchased both black & brown spray paint, not knowing which one I was going to use on my new lamp. Due to my 'Kardashian' decision not being final, I decided to use the brown - Rust-oleum's Flat Chestnut.


(Yep, that's my Maxi girl on my couch cushion in the background. She thinks she's entitled. :)

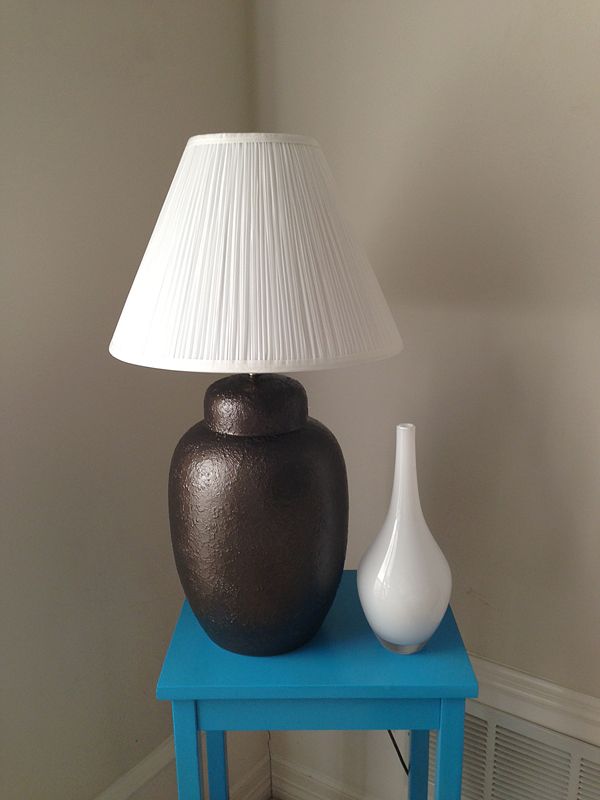
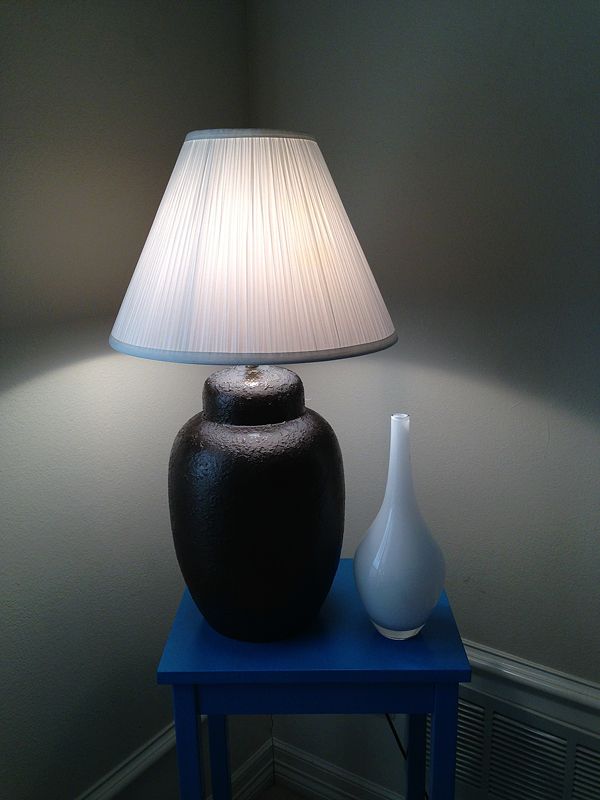
And here's my lamp, finished! It's so pretty! This isn't the shade style I want, but it was too hot to keep searching. :)


I love the brown. Although, I'm pretty certain it'll be painted a pretty shade of metallic black in the near future. :)

I'm not sure this ended up being such a good deal because the price(s) added up:

Lamp - $11.00 (remember, I thought it was $5 but that was the wrong sticker!)
Shade - $15.00
Paint - $7.00

Total: $33!

Could I have bought this lamp cheaper? I don't know. It's a solid, well-made lamp & probably would have cost relatively about the same. But this way, I did get the color I want. Winning! :)


Be sure to follow me on Facebook for more fun stuff! Click here!

Monday, July 8, 2013

How to lubricate a wooden cutting board!

I love wooden cutting boards. I've used them for the last 25 years. My brother owns his own cabinet business & made my cutting boards for me for many years. Now I just buy them at store. I do not like butcher block, Bamboo or plastic. Just the simple, wooden boards.

Wooden cutting boards must be lubricated to prevent splitting, cracking, drying & breaking. Kind of like our feet. :)

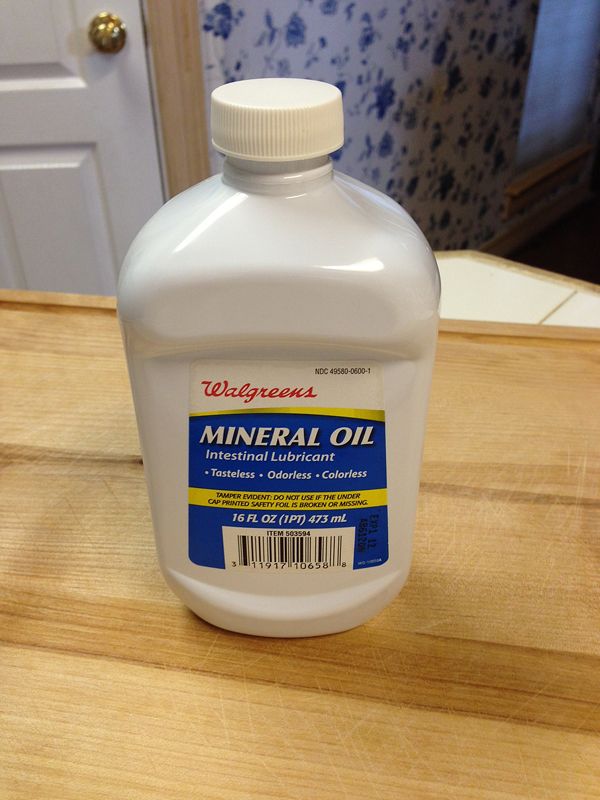
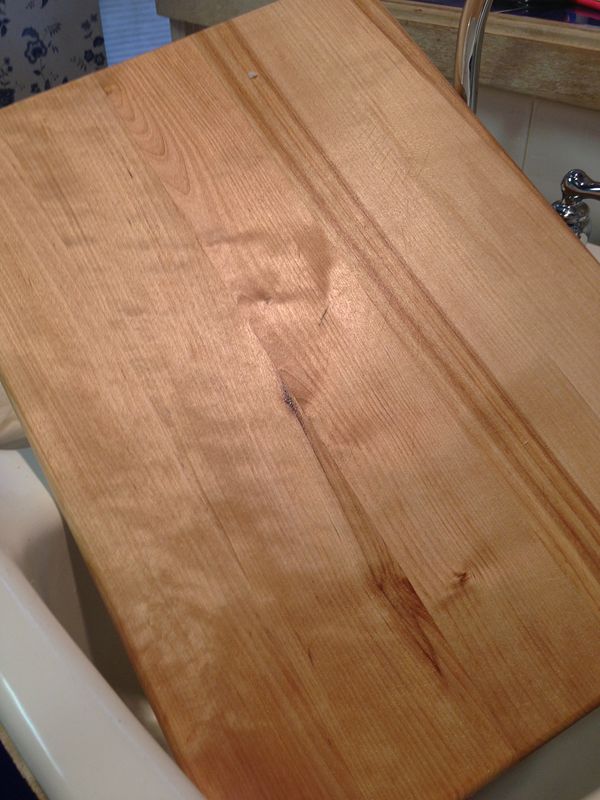
I use Mineral Oil to treat my board, because it's safe to ingest & doesn't develop an odor over time. I recommend not using vegetable, canola or like oils because they are apt to become rancid & stain. I used to use vegetable oil before switching to mineral. I have used mineral oil for several years now & I love it. I think it keeps the board lubricated longer. I also love how my board sheens after treated! Pretty is so important, you know. :)


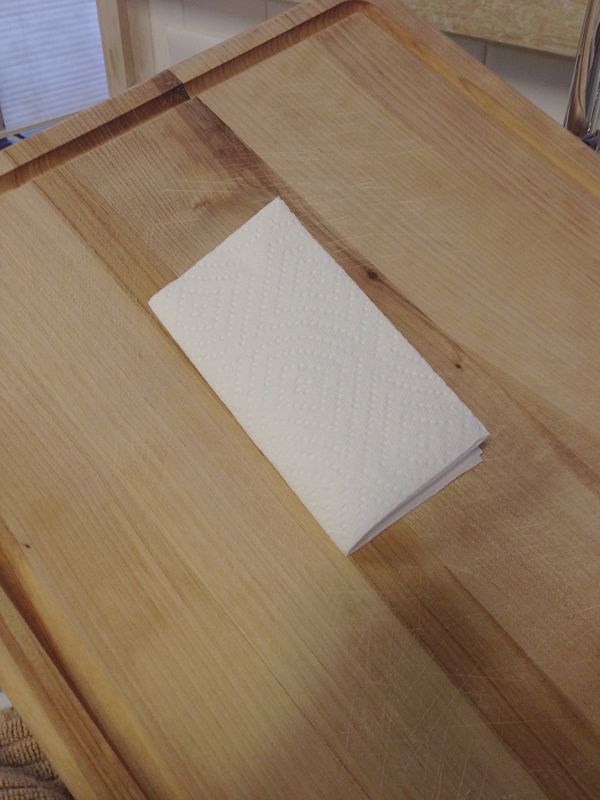
Application can vary & really, you can use any technique you want. I use use paper towels. The mineral oil really saturates the paper towels, making application coat really well.

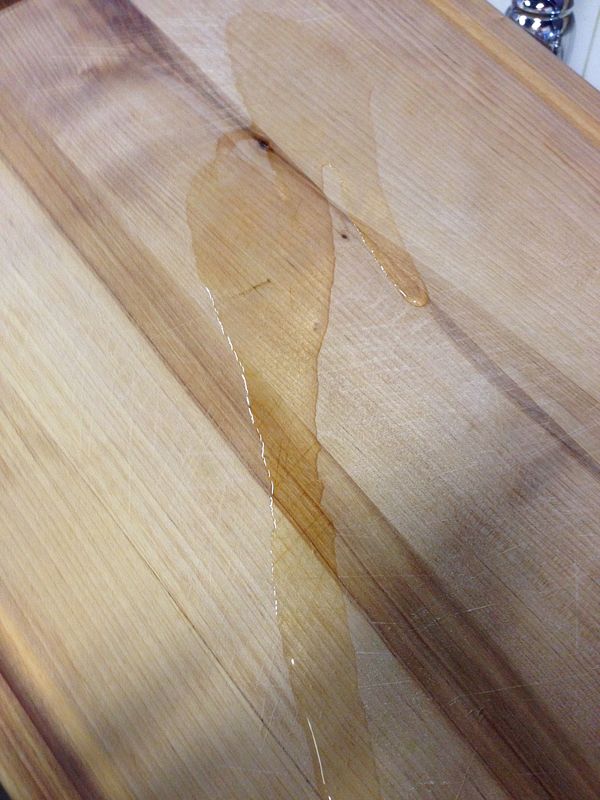
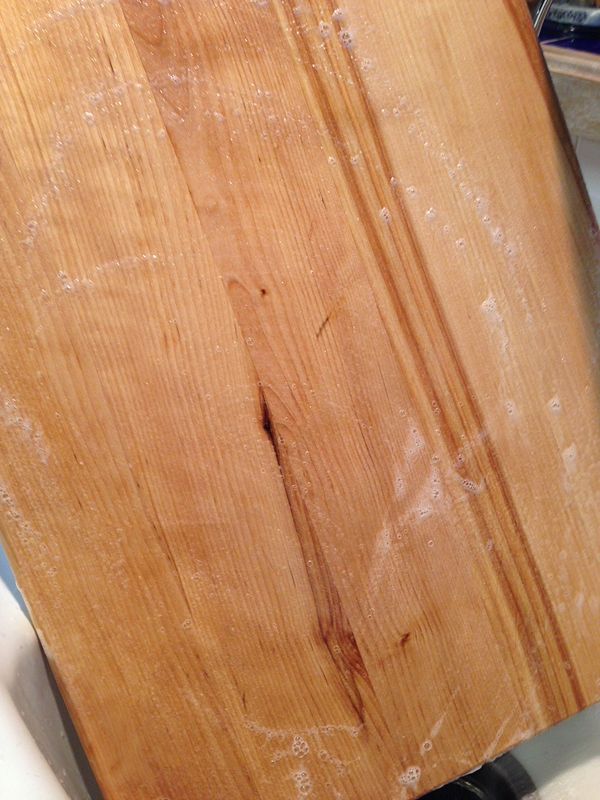
(The above photo was taken right before I lubricated my board. It was on my island, under the light. My board looks really dry in the two photos below because when I moved my board to the sink, I forgot to turn the sink light on. I turned the light on as soon as I noticed. It actually looked like the photo above - I keep my board lubricated at all times.)


The first thing I do is pour a very generous amount of mineral oil onto my board. I like it good & thick for good coverage.


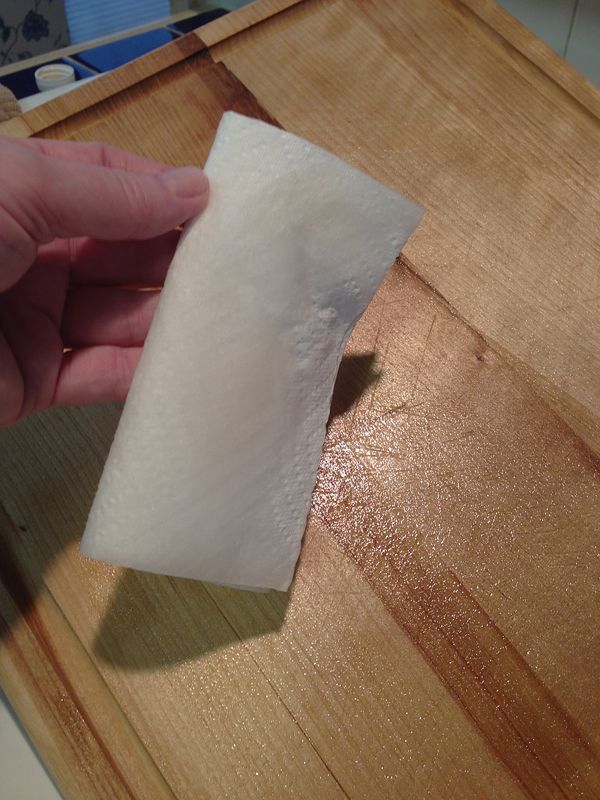
Then, I take my paper towel & just start rubbing & coating the board. (This task can get messy! Wear gloves if you deem necessary. After so long, the paper towel begins to disintegrate but it's ok, application still works & I wash off any paper towel residue when done.)


I make sure all areas are covered & because mineral oil is nice & shiny, I can see any areas that I missed. I even do the edges & sides of the board. When the front is done, I flip to the back & repeat.


After I'm done, I let it sit & absorb, for about 10 minutes or so. Then, I wash it with hot water & soap.


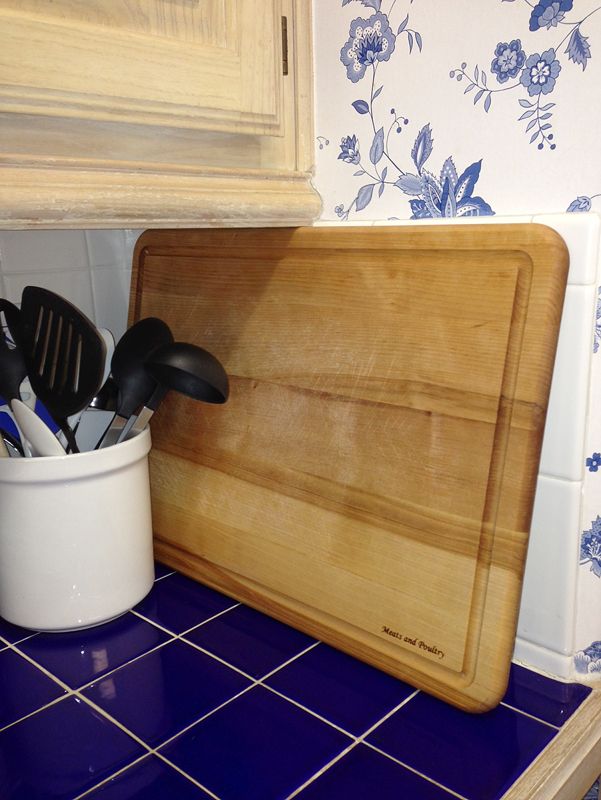
I am a hot water & soap kind of girl & almost everything I have & own gets washed that way, including my cutting board. By doing so, I know it's nice & clean. I do not put it in the dishwasher - I hand wash it. If over time the board begins to wear, I buy a new one. Easy peasy. I always stand my cutting board up to dry. After I wash it, I stand it up & lean it against my faucet in the sink. This board is on the large size, so it's a booger to wash, but I can still stand it up to dry. Forgot to take that photo - oops.

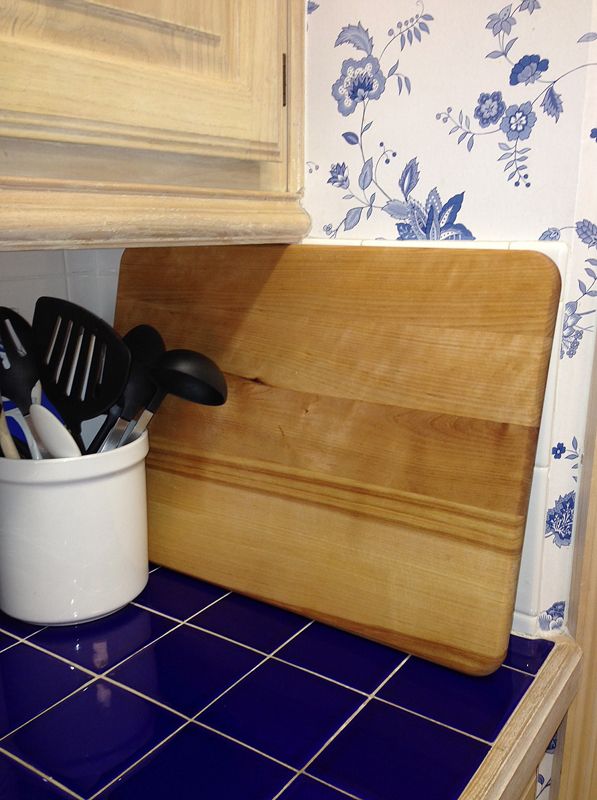
Here's my board, after completing all above steps! I treat my board about every 6 weeks, sooner if need be. My cutting board looks like this all the time! Nice & moisturized & pretty!


Happy lubing! Heehee. :)

Join my NEW link party, Bloghibition, every Wednesday evening!

Follow me on Facebook! Click here!

Linking up with: Uncommon Designs, Huckleberry Love, Home stories A to Z, Between Naps on the Porch, A Bowl Full of Lemons, Not Just a Housewife

Wednesday, June 26, 2013

Something for me!

This is what I did this week! It makes me happy! I go outside & I love it! I still have so much I want to do yard-wise, but baby steps. I love a pretty yard! Today cost me more money than I preferred. But it's done, & next week I'll definitely keep it less expensive.

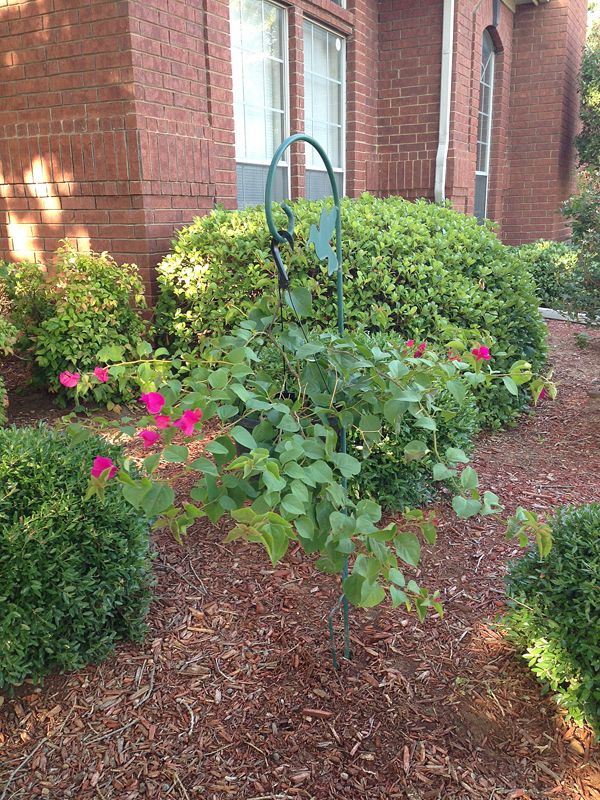
First, I bought a Bougainvillea! A few years ago I had one & I had had it for years. It was huge & gorgeous! I had it planted in a metal tub & every winter we would pull it in the garage (& got ripped to shreds by the thorns) when it got really cold. One year we forgot & left it out one night. It didn't survive. Sniff. I'll replant this one in some sort of a planter, too. For now, it hangs & looks pretty! It was $14.


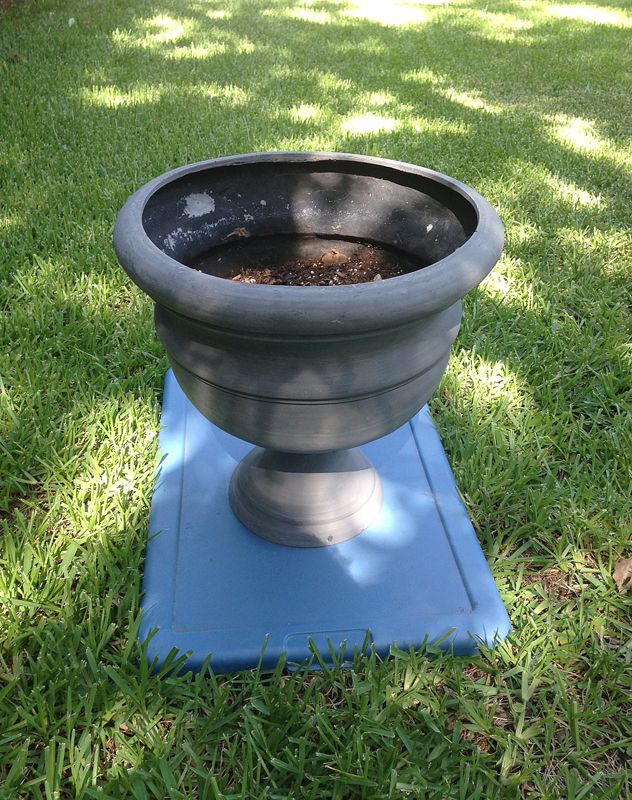
Then, I drug these old planters out. I wasn't about to throw them out when I could put them to good use!


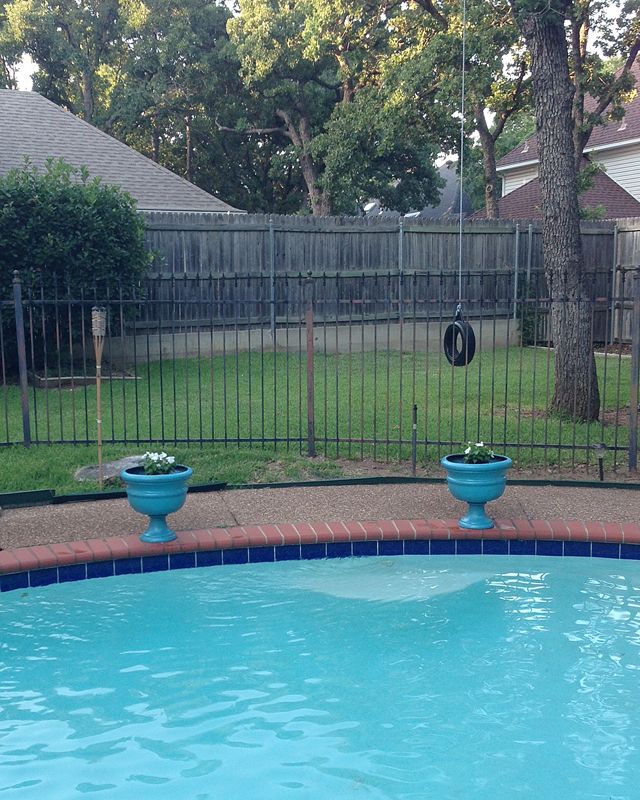
I gave them a good wash & some spray paint. I was going to paint them dark brown, 'cause that seems to be my go-to color right now, but the kids & I thought we'd live on the edge. We chose Tropical Oasis!


Spray paint $4 x 2. Flowers $3 x 2. Potting soil $5 x 2.

Then, I put some pretty flowers in them!


Tada! Love how they match the pool water perfectly. Winning!

My total for the day was $38 + tax. The good news is, I'll be able to enjoy this $38 all summer! Yes, please!

Follow me on Facebook for more fun stuff! Click here!

Friday, June 7, 2013

Our weekend project!

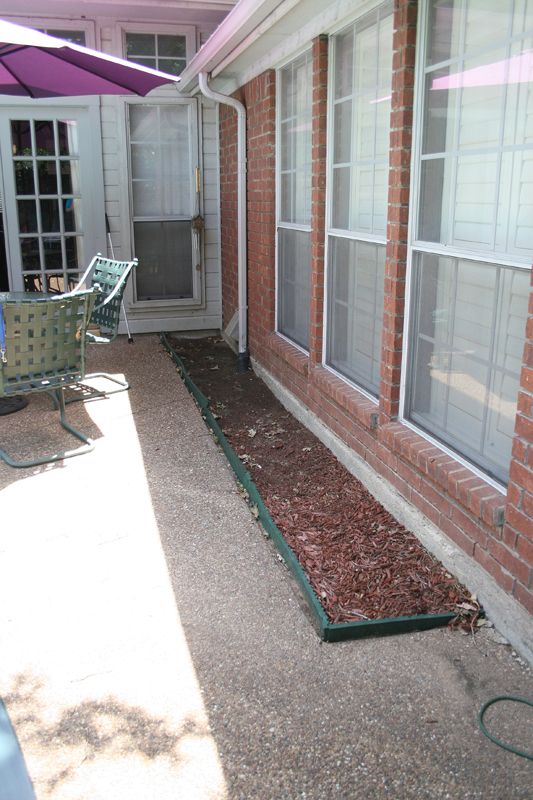
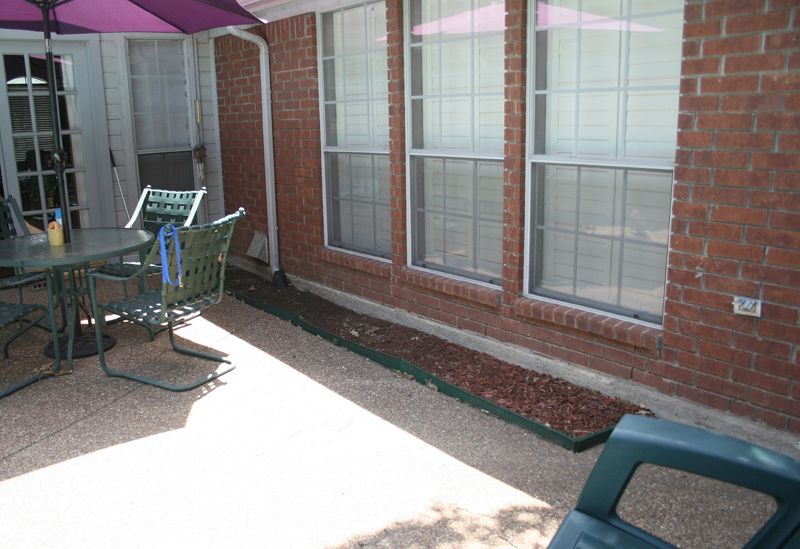
I am so excited about this little project! This little back patio flowerbed just drives me crazy! Why the builders chose to stick it there, right next to our master bedroom windows, is beyond me. The landscaping here is just nuts. Too much, no consistency, you name it. Eight years later, we're still cleaning it up, clearing it out & replanting.

My plan this summer is to spend a lot of time outside. We do every summer, but moreso, this summer. So I deemed it the perfect weekend to rid this wet, moldy, smelly, unsightly flowerbed. When we first moved in, there were bushes in it, but I pulled those. Some were dying, some were thriving - yuck. They were hideous. I was going to plant flowers there & put down fresh mulch but because I want us to eat outside a lot, I've decided to fill it in!


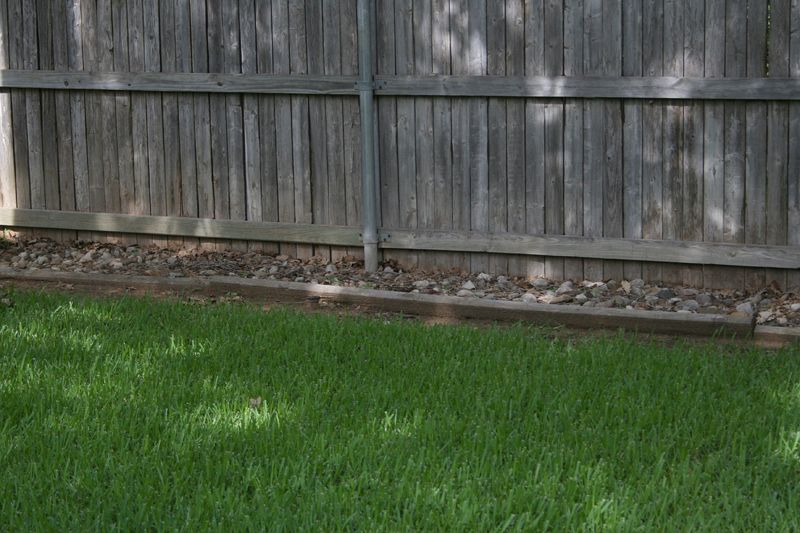
Here's my plan. Up against one side of our back fence, they put a rock bed, enclosed with landscaping timbers. Why did they do that? There isn't another one anywhere on our property. It's ugly. It fills up with sticks & weeds. So, we're pulling the landscape timbers & relocating the stones over to the back patio flowerbed. Once the stones are laid, my husband wants to pour cement on top, to set the stones. What a great idea! And the only thing we need to purchase for this project is a bag of cement! Hello!? Winning!!


Can't wait to get started! By Sunday, I hope this icky area is gone & we can enjoy our food & drinks on the patio without the dirty, musty smell of the flowerbed.


Isn't such a fulfilling accomplishment to complete a project? Good-bye grossness! :)

Sunday, May 12, 2013

My cute, little refurbished table!

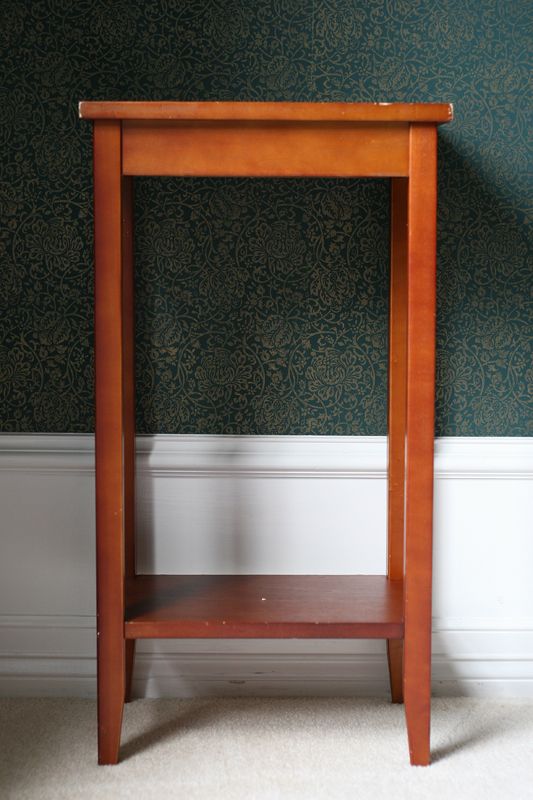
Truth: I'm not really a DIY'er. Not when it comes to painting & refurbishing furniture pieces. But I'm ready to begin decorating our home, & it has to be on a (pretty much nonexistent) budget. So painting it is. I have so many pieces I want to do, but I've been afraid to do it, because I have no clue what I'm doing. But it's now or never & I won't learn unless I try. I figure if everyone else can do it, I can, too! Positive thinking! I'm starting with a little table that I bought at Goodwill a few years ago. I bought it to go in our small bathroom, but it didn't really work like I had hoped. Since then, it's been unproductively sitting beside our couch, collecting dust. Time to put it to use!


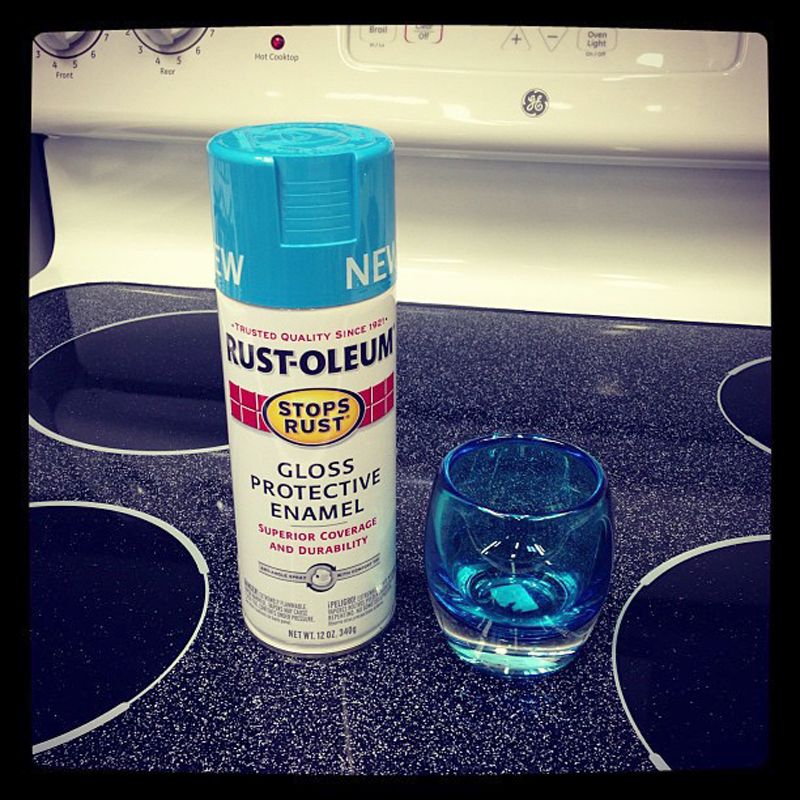
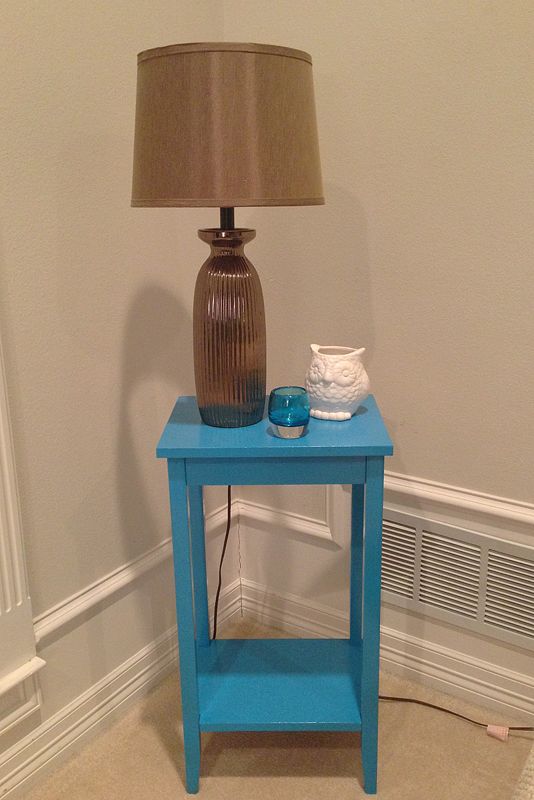
I decided to move it into the front living room, which is where I mostly have beige, brown & aqua. Because the table was inexpensive, & it's ok if I mess it up, I decided to go bold & spray paint it with 'Maui Blue'! I took a little aqua candle holder to try to match the color. I'm efficient like that. Ha!


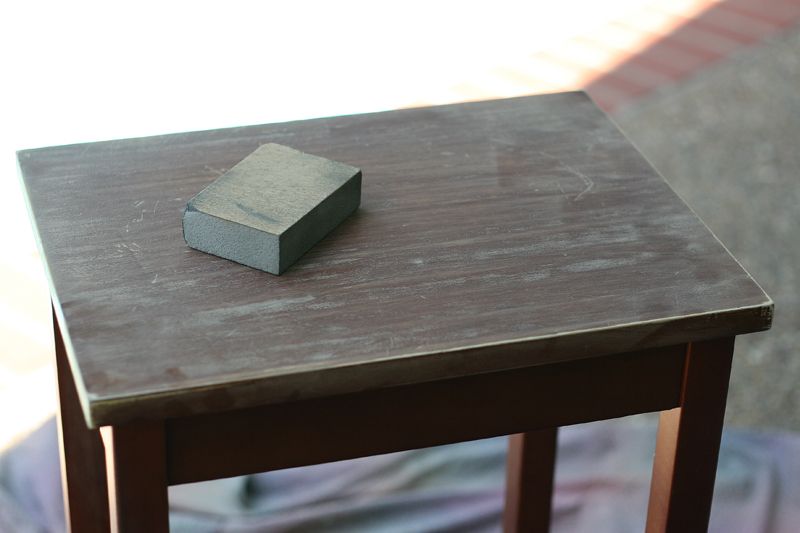
I took it outside & did a little light sanding, to remove some slight surface scratches. I wanted a fine sandpaper, but we didn't have any, so I found this semi-fine sanding block. Worked fine (I crack myself up). I lightly sanded the top & some of the sides, wherever it needed a little touch up.


I bought a white spray primer, but decided not to use it, since the table is so small. (Now that it's done, I think I wouldn't have needed as many coats if I had used it. That darn "hindsight's 20/20" thing.)

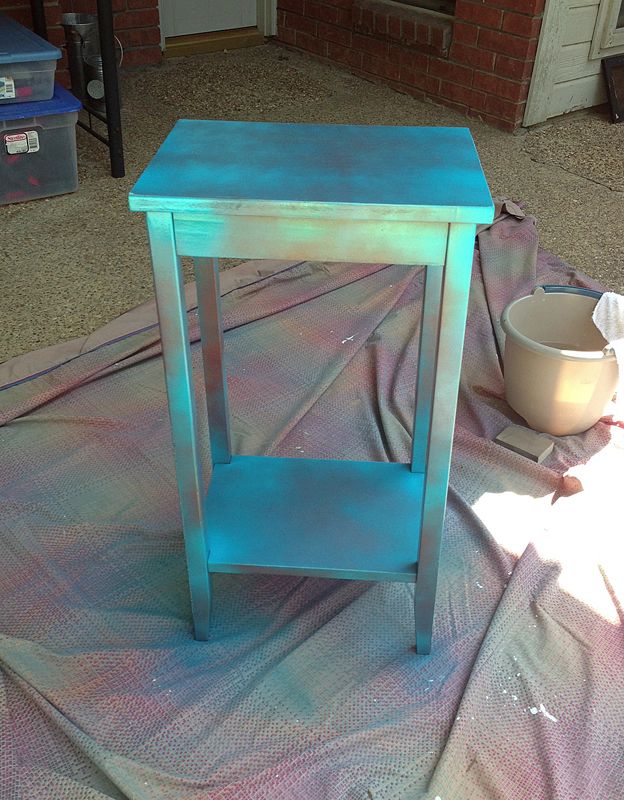
Here's the first coat. I went quick & light, to avoid overspraying & drips. Times 50.


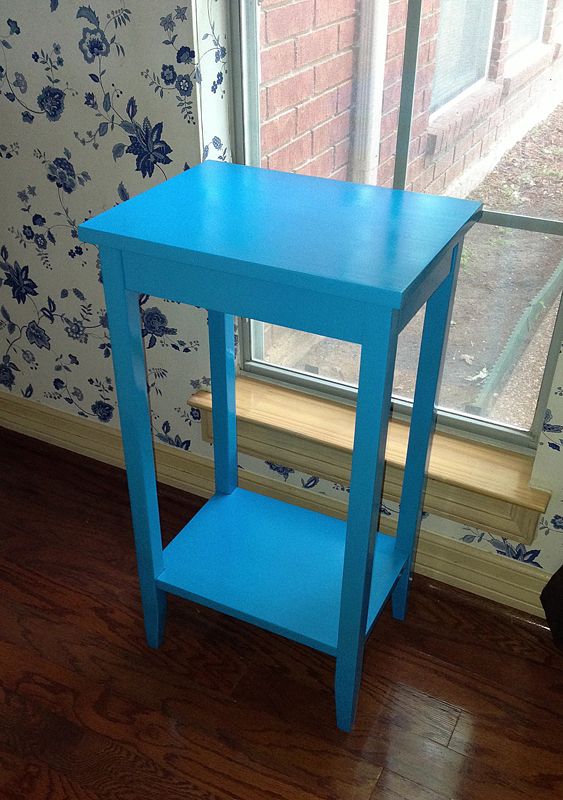
And here is it, completed! Tada! Actually, it had to be done, because I ran out of paint. Now that it's inside drying, if I happen to notice I missed any areas, I'll buy another can & finish those.


Whoa! That sucker is bright! A little too bright for my liking. :) We are rooming our girls together in the near future & I'm going to put it in their room. It will be perfect!


For my first piece, not too shabby! It's actually pretty darn cute!

Hope you had a beautiful Mother's Day! :)

(Psst - if you are going to paint, I suggest not using a sheet, like I did! It was horrible, sticking & moving! Next time I will use cardboard.)

Follow me on Facebook for more fun stuff! Click here!